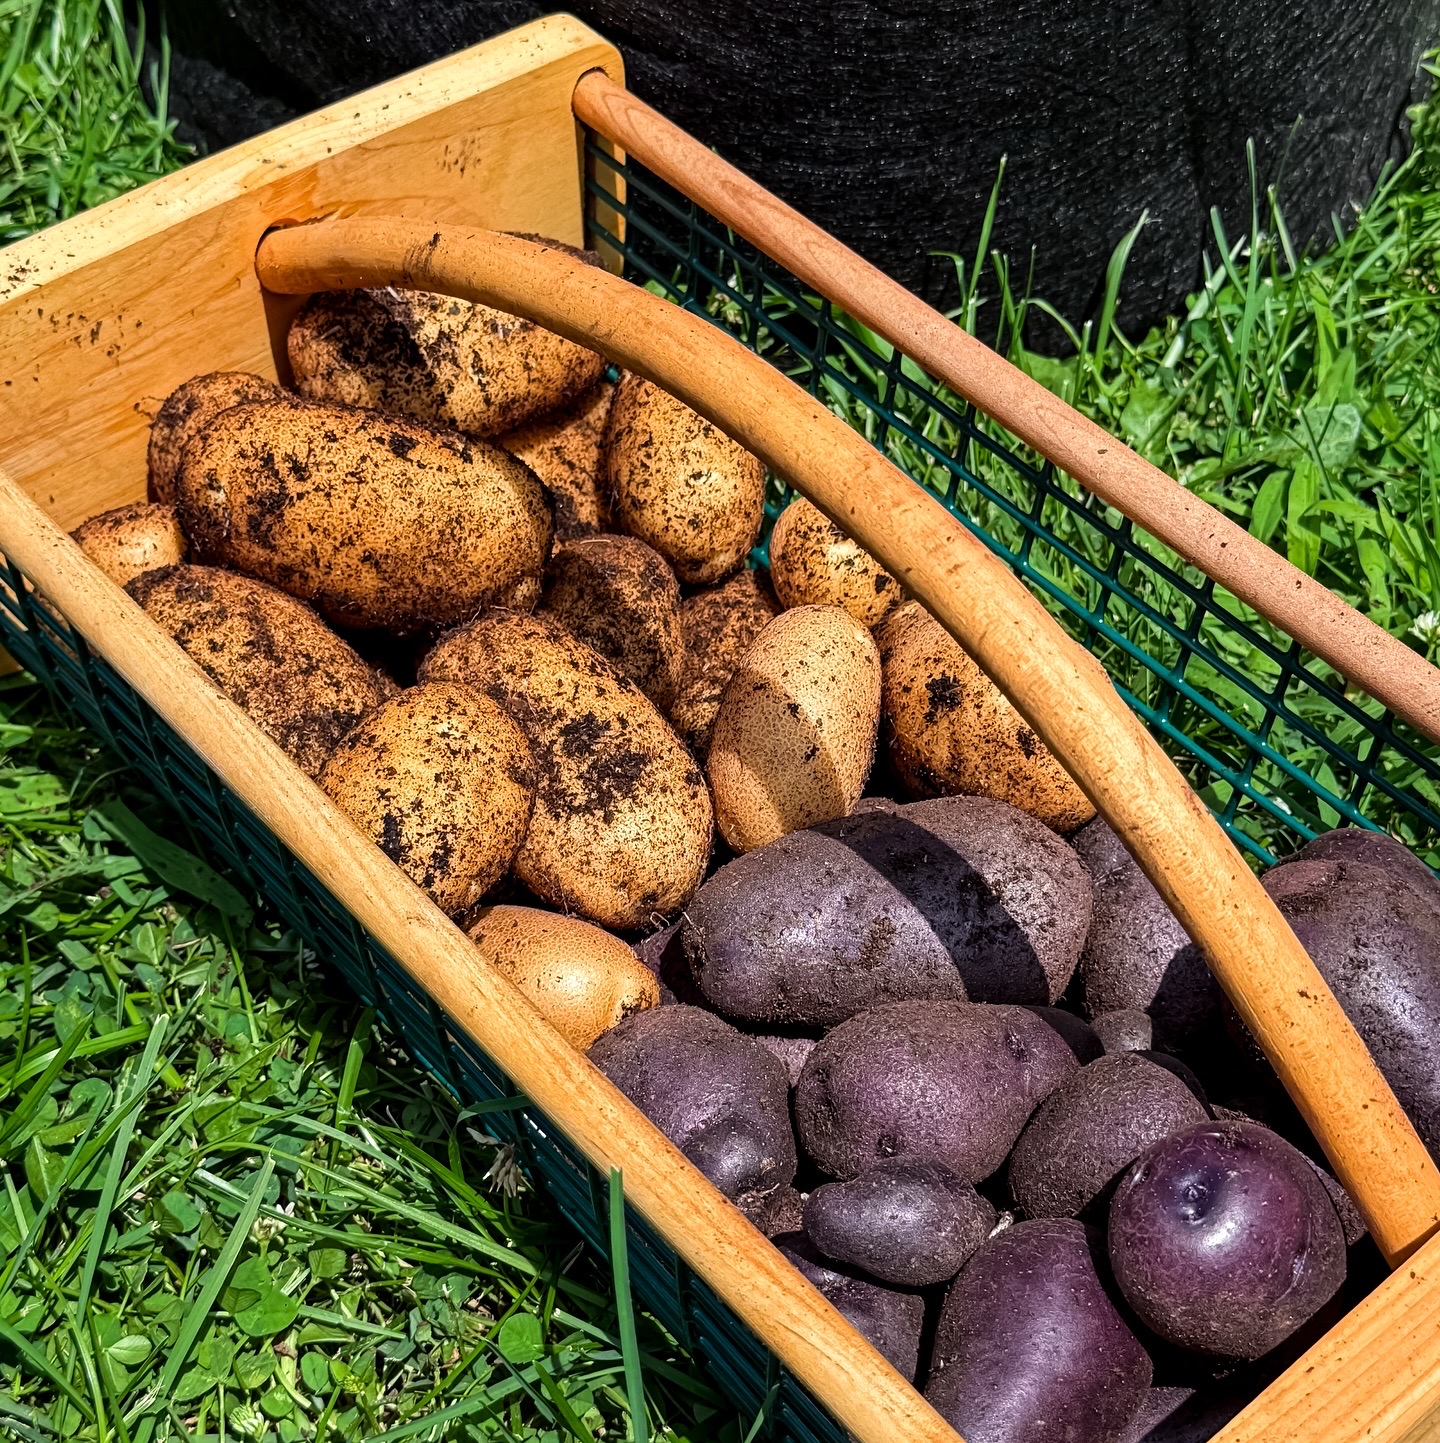
This season we planted two kinds of seed potatoes from Wood Prairie Farm in northern Maine.
Adirondack Blue, known for its deep purple flesh, and Caribou Russet, a classic, all-purpose variety that stores well and grows reliably in the Northeast. We’re trying them in grow bags this year, which makes things easier when space is limited or your soil isn’t great.
What You’ll Need
- Certified seed potatoes
- A few 10–15 gallon grow bags
- Compost or loose, well-draining soil
- Straw, leaves, or mulch (optional)
- A sunny spot that gets at least 6 hours of light
We ordered our seed from Wood Prairie, a family-run farm that specializes in organic, Maine-certified seed potatoes. For soil, we’ve had good luck with Coast of Maine’s organic potting mix, it’s rich, holds moisture well, and works great in containers like grow bags.
Getting the Seed Ready
If your seed potatoes are on the larger side, go ahead and cut them into chunks, each with at least one strong eye. Then let them sit out for a day or two so the cut surfaces can dry and form a callous. This helps prevent rot once they’re planted.
Smaller seed potatoes can go in whole, no cutting needed.
Filling the Bags
Start by adding soil or compost to the bottom of each bag, filling it about a third of the way. Place three to five seed pieces on the surface, spaced a few inches apart with the eyes facing up.
Cover them with a few inches of soil and water thoroughly.
Watering and Light
Potatoes need consistent moisture, especially in containers. Grow bags tend to dry out faster than in-ground beds, so check the soil regularly and water when the top few inches feel dry. Place your bags somewhere they’ll get full sun throughout the day.
Keep Adding Soil as They Grow
As the plants grow, keep adding more soil around the base, burying the lower stems while leaving the tops exposed. This helps the plant produce more tubers along the buried stems.
We add soil little by little until it’s a few inches below the top of the bag. If the weather is especially hot or dry, you can layer in straw or shredded leaves to help hold in moisture.
When to Harvest
Once the plants flower and the leaves start to yellow and dry out, it’s time to stop watering. Let them sit for about a week, then tip the bag over and sort through the soil with your hands.
It’s satisfying work, digging through the cool soil and pulling out handfuls of fresh potatoes. The Adirondack Blues have an unmistakable color, and the Caribou Russets come out smooth and clean, perfect for storing or cooking right away.
If you want new potatoes (the small, tender ones), you can harvest a little earlier by gently digging around the sides of the bag and pulling a few out.
Why We Like Grow Bags
Grow bags are easy to move, quick to set up, and make harvesting straightforward. They’re especially useful if your soil is rocky, compacted, or you just don’t want to dig a traditional bed. Plus, cleanup is easy! just dump out the soil and compost what you can.
A Few Tips
- Don’t reuse the same soil for potatoes the next season
- Rotate crops to reduce the risk of disease
- Keep bags off cold or wet ground early in the season
- Watch for pests like flea beetles or potato beetles, especially once the plants flower
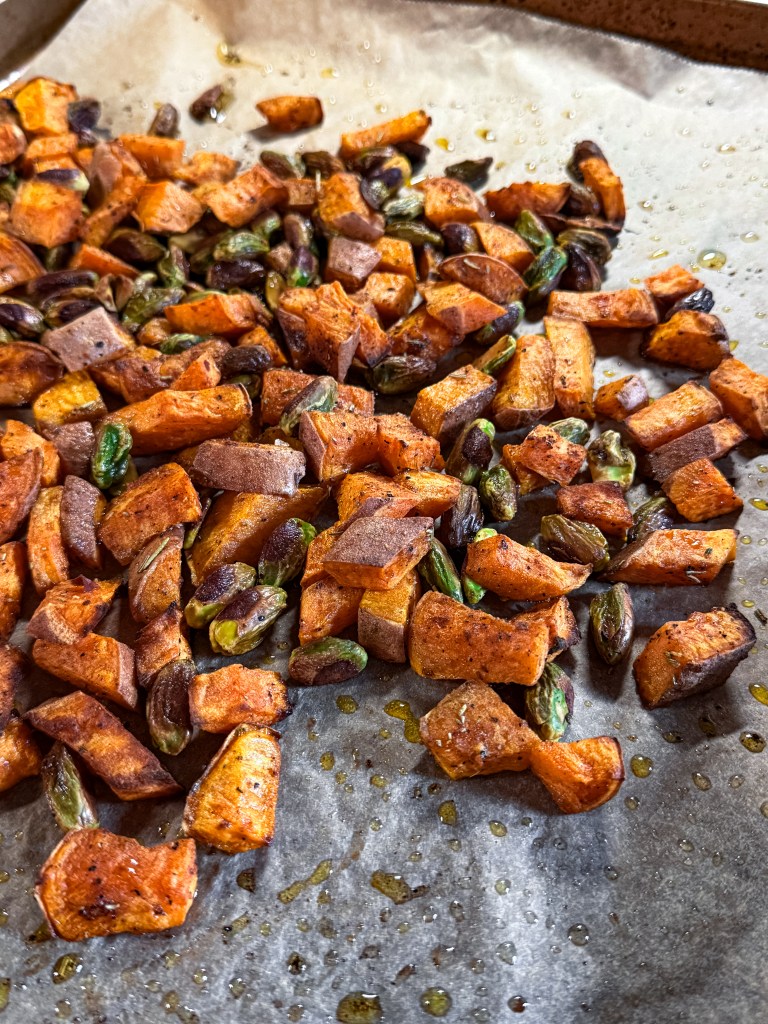
This method doesn’t take much space, and the payoff is well worth it, especially when you get to cook with potatoes you grew from scratch. We’re looking forward to roasting the Adirondack Blues with garlic and herbs and saving a few of the Caribou Russets for winter meals.
Let us know if you try it this season, or if you’ve had success with other varieties!


Leave a comment